Tuesday, September 30, 2008

Balik-ing Kampung !!!


Oh... oh... oh... Balik Kampung !! Oh.. oh... oh Balik Kampung !! Hati riang !!!!!

What a long holiday I have. We are forced to take leave on Friday. Instead staying in KL, which would be almost emptied during the festival holidays, I better balik kampung.

So, for all my Muslim friends, Selamat Hari Raya Aidilfitri ! And Happy Holidays !

Drive safely. You can make a difference !

Sunday, September 28, 2008

The Flower Shots


I don't have a macro lens. So, what I can do is 100% crop from my photo. LOL

Do not under estimate the power of 100% cropping. Sometime the result is quite good also. The key is make sure the subject is properly lit, and shoot with small aperture (with high F number).


The above photo is a 100% crop photo. The exif read : 1/200s, f/8, ISO 200 at 80mm zoom.

How I lit my flower ? A F42 with my DIY soft box on camera left with flash level at 1/32 and zoom at 50mm. Another F42 with DIY grid on camera right with flash level at 1/32 and zoom at 50mm. I placed these flashes close to my flower. The soft light from my soft box is the main light, and the grided flash act as rim light.

Another shots with crop. Straight from camera with a slight USM in photo editing. Same lighting, a soft box on camear left with another flash with grid on camera right.

Hence, I do not need a macro lens. LOL

My Own Review on Sony F58 Flash


We have had heard this flash for months. We had known what can this flash do. We had seen the leak picture of this flash before it was launched, a typical Sony style of telling people what is their next product. And finally it was launched on, without much of us knowing about it, last week.

I have not favour in this flash since the beginning. It's just an F56 replacement model with a tilted head and grouping WL capability. The fact is, the WL grouping is only usable with Sony latest flash the F42s and F58s with A900, which I don't have and the A700. However, I have a lovely wife. She made this F58 as my birthday present. My birthday falls on the 5th of October, and this present had came to me much earlier. Well, rejecting it is not a wise move, so, I've learn to accept it as part of my gear. :p

So, here is it, my very own review of F58. You may get to know more depth review about F58 performance in Albert's blog. Hence I wouldn't touch much on the flash performance.

Let's talk about the size. How much bigger is this 58 compare to the rest of Sony flashes ? I don't have a F56 with me, hence I can't compare it with 56; instead I compare it with my 42 and 36.

Yes, it look LOT bigger than the 42 and the 36. Look at the size of the supplied mini flash stand !

And the control panel is SUPER complicated if compare to the 42 and 36. However, the Fn button and the navi key in the 58 is kinda cool. I like that design actually.

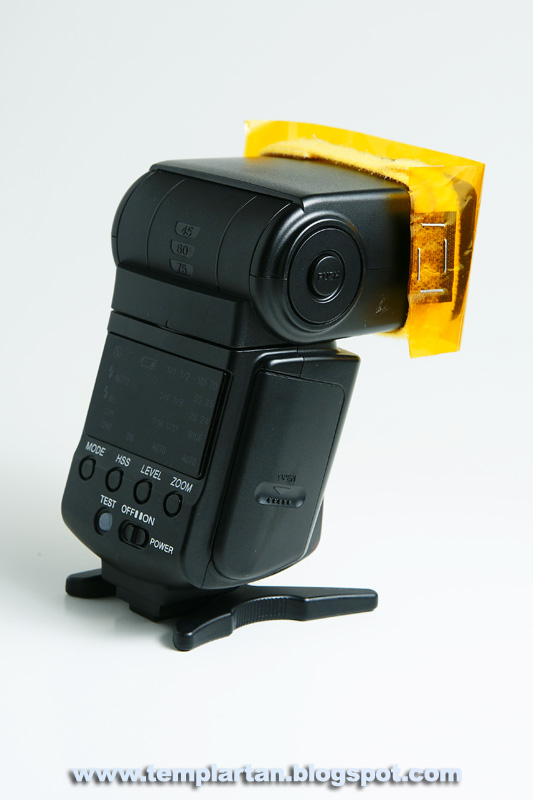
One thing I do find this 58 has two similarities with 36: both do not have the lock key to swivel the head, and both 58 and 36 coudn't swivel 90 deg horizontally to left and right. To do this for the 58, simply turn its cobra head to the left or right while swivel its head at the 90 deg vertically. Then we have a left bounce or right bounce flash head instead turning the flash head like the 42s and 56s.

The weight wise, of course the 58 is the heaviest among compare to the 42 and 36.


To the left is the weight of 58 without batteries, and with batteries on right.
It weight less than 700g for a 58 with batteries.


Of course the 42 is lighter.


And the 36 is the lightest amongst the Sony flashes.

Worth to mention about the pouch that come together with this new flash. Although it is not a leather pouch as it was for the 42s and 36s, but it's more practical in use.

The size of the pouch is big to compensate the big size of the 58. It has a belt bracing which fit well in a belt as shown in the photo below:


The mini flash stand that specially design for the 58 is cool. It's super big if compare with the current design !

Don't you think the new flash stand look like a Romulan Warbird ? And the smaller flash stand look like the smaller class Romulan warship ! LOL

Ok, let's talk about the WL function of this flash. The 58 do offer grouping flash control. However, it's only usable on the current A700 body and "the supported camera", which is the Sony FF A900. With the A700 body, this flash could offer a two grouping flash ratio with the 42s and the 58s only. The 58 has to be mounted on the A700 body to enable the grouping thingy.

Although this flash offer as a WL commander for all Sony Flashes, but it's only for the "supported camera" only. When mounted on an A700 body, it can only be the commander for the 42s and the 58s only. Let me show you what it meant.

The picture below shows two 42s were on light stand, and a F36 was place in the middle. The 58 was mounted on my A700, and turn as the controller/commander WL mode.

Both F42s were triggered, but the 36 is not.

The photo below shows the 58 as a controller and an on-axis flash and at the same time trigger the 42s off camera. But the 36 was not triggered.

This function is good to where the on-board F58 act as the on-axis fill with 2 F42s act as rim flashes.

And the last photo shows the 58, the 42s and the 36 were triggered WL-ly from the on-board flash of A700.

Of course this can happen. Hey, this 58 is a Sony flash. It MUST understand the WL command language from the Sony DSLR body. Does this 58 communicate with the rest of the body ? Not sure. I think it can, since my A700 can command the 56 and even the older Minolta 5600 HS(D) flash.

So, is it a good flash ? Well, this is a replacement for the 56, and at the cheaper price than the 56. The RRP for the is RM 1499, in fact the street price is at RM 1,200.00. Value for money for what this flash can offer.

But if you are in budget, the 42 is a better option. The 42 offers manual power control and WL as well, and it has GN of 42 and it's just a slight lower GN than the 58.

Will this 58 works in the A100/A200/A300/A350? Unfortunately not all functions are usable in these body. The obvious one is the WL grouping function. I still not understand why Sony didn't design the flash in such a way that it could group ALL Sony flashes, instead limit to the 42s and the 58s only? Well, I'm hoping there will be upcoming body firmware that enable ALL Sony bodies to use this great grouping WL function of the 58.

Finally, the flash sound from this 58 is cool ! The sound is pretty futuritic when the 58 flashes. It's nothing I've heard so far, not even in my old 5600 and the current 42 and 36. Those who own it would notice it.

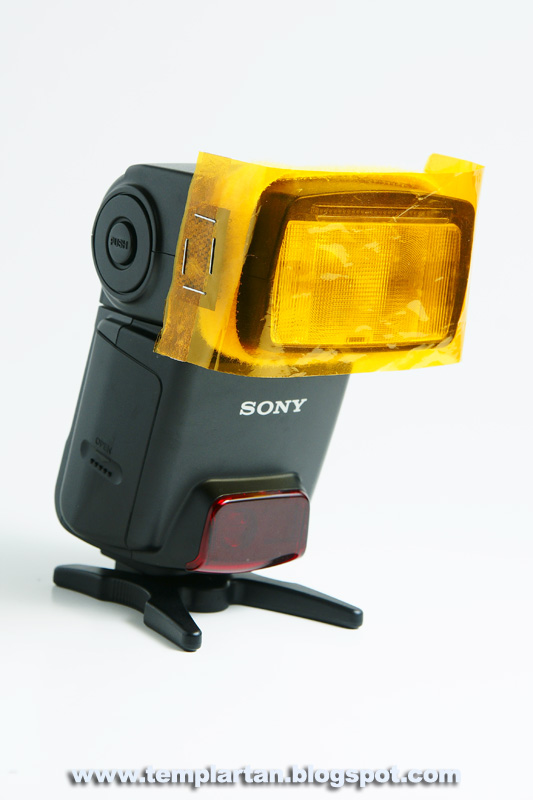
My conclusion is short. The F58 is value for money, and yet it has some room for improvement. The rotary head is cool ! But if you want a left bounce or right bounce under landscape orientation, the twisted head may cause some un-balance to my camera. The build in white card reflector is normal in my opinion. This option had been included in almost all non-Sony flashes. Sony should include this add-on into the 42 already. So far, I haven't test out 58's power consumption, but I had predict this would be a batteries eater.

Update : Link to my very own Ratio Flash with F58 and F42.

Friday, September 26, 2008

DIY Project : My Speed Straps

Not really a speed straps as shown in Strobist.com, but it's rather a ready made speed straps that can be found in a DIY shop housed in Mid Valley.

I found these wonderful thing when I was shopping for some stuff in this DIY shop:


These are velcro tapes with loops and hooks in a strip which make it the perfect speed straps for my flash. Quite cheap actually, if I'm not mistaken, 3 rolls of such "complete" velcro tapes (3 in package) cost about RM 7.00.


How can I do with these velcro tapes? Just wrap around my flash head, and I have my own version of speed straps like these:


The length of the strap is long enough to go two rounds of my flash head, even in F42, F36 and even the latest F58 !


Sony Flash HVL F36


Sony Flash HVL F58

So, I have the speed strap, then what should I stick with it ? My DIY flash gels !

Gels are used to correct the colour of the flash so to create a proper white balance. In day light flash photography, a CTO gel would shift the colour scene to create a cool blue ambient.

I have my el-cheapo tanglong paper made as my CTO gel. I do find putting 2 layers of yellow tanglong paper would resemble a full CTO. Hence, stick two layer of yellow colour tanglong paper and cut to size suit the flash head.


Finally, stick two small pieces of the hook face on the side of this CTO gel as shown below:


And I have my speed straps with a CTO gel on my F42 flash :


Easy, right ? No more sticky velcro on the flash head ! Now I can stick my blue gel onto my flash head without any problem. No more el-cheapo paper stick tape already. :D

Thursday, September 25, 2008

The Air....

Air is weightless....

We need air to live.
We are surrounded by air.
We feel its pressure.
We feel the air move.
We feel its present.

But we can't measure its weight....

Monday, September 22, 2008

Planet Bubble !

Time : Some when near future.
Place : Some where on Earth.

A scientist is sleeping on his computer keyboard. He has been staring at his computer screen for days, hoping to get a signal from the unman spaceship, The Alpha, which were launched 20 years ago. The Alpha was set to the outer space into the Outer Rim of Sector Alpha, which located about 15 light years away from Earth. No signal were received from this probe ever since then. Everyone has given up hope on this probe, but one. He believes The Alpha will one day tell him what it saw.

His snore echo the whole lab. Everyone has left and never come back.....

All of the sudden, an long beep sound wake him up ! It's the signal from Alpha !!!

The scientist quickly key in the command in the computer in front him, so to receive all data transmit from Alpha !!

He is amazed by the pictures captured by Alpha... he is speechless !


He couldn't believe what he has saw ! The planet surface changed every second !!! He shouts out in thrill:"I've discovered a new planet !!!", but....
.
.
.
.
.
.
.
.
.
.
.
.
.
This story is just a friction. LOL.

These pictures are from a bubble. Yes, the bubbles we played with when we were young, when we blow it when we take shower. Pretty easy to shoot actually, the main key is the bubble solution. Uncle Google is kind enough to tell me the simplest homemade bubble solution available. The solution is as follows:

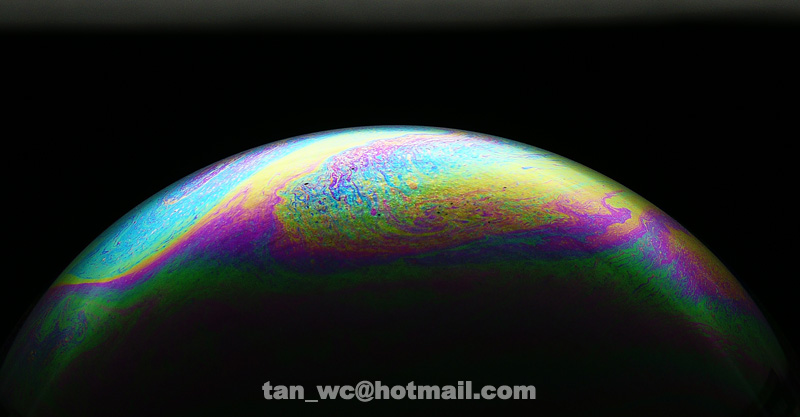
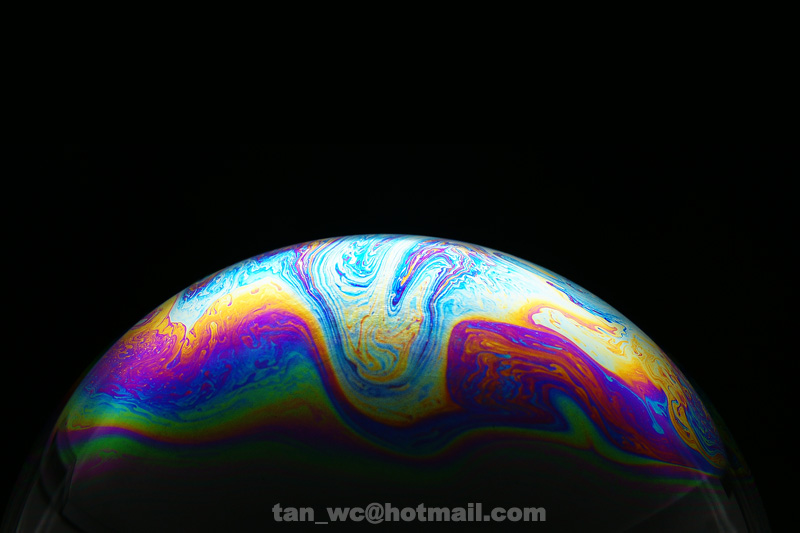
The ingredient is pretty simple: water, detergent and glycerine. Uncle Google says that I need to mixed 240ml of water with 30ml of detergent and 15ml of glycerine.

Ok, now the problem is where do I find detergent and glycerine ?

I do dishwashing. So, detergent is the Glo Pekat. Glycerine can be found as part of ingredient in most body shampoo or handwash detergent. With the Glo Pekat and some body shampoo, I have my homemade bubble solution !

Another problem: I don't have a measurement device to measure the volume ! Easy, one simple calculation shows that I need 16 parts of water to mix with 4 parts of Glo Pekat and 1 part of body shampoo. I used a chinese big soup spoon as my measurement device. Simple scop 16 parts of water into a cup plus 4 spoons full of Glo Pekat and one spoon full of body shampoo, and I'm done.

Now I have my bubble solution. Next, I need to set up my "space time" universe. The space time should be in black, pitch black. So, black seamless cards are my material. Simply stick one A3 size of black paper on the wall, and another piece of black paper under an acrylic board as base placed on a stool.

For lighting, I need a pretty big soft light saurce relative to the bubble. Hence, my Soft Box ver 2.0 come in handy. Some test shots done and I found out I need to have a pretty low room to create a broad huge soft light around the bubble. This is how my "space time" universe looks like:

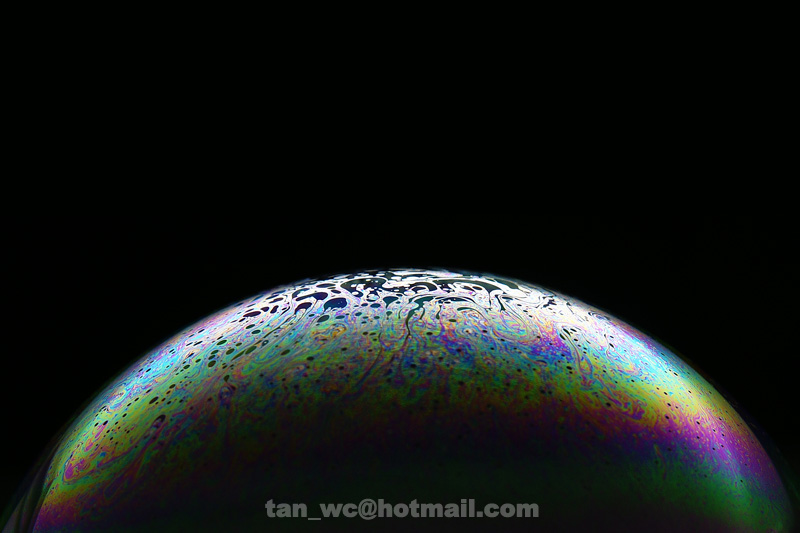
Tripod is not necessary, but I would like to free my hand to do the bubble blowing process. The bubble did not last long. But it last long enough for me to captured it before it goes off.

Where to focus ? This is the trickiest part of the whole process. The bubble is so thin that my camera can't focus on any plan, instead it focus to the infinity. Manual focus is no help at all. By accident, I saw my room light's reflection on the bubble surface as shown below :

Ambient Light

That reflection of my room light is my focusing point. I just turn my focusing AF point onto the reflection and my camera has no problem to focus the bubble.

Camera setting wise, I set the shutter speed at 1/250s to ensure my pop-up commander flash was not captured in the photos, aperture at f/8 for sharpness, and the flash was at level 16 for fast recycle time. All photos here are direct from camera and cropping is done in an image processing software.

Why the plain looking bubbles could produce such a nice colourful surface under a flash ? Well, it's physics ! It has to do with the wavelength of the light travel across into the thin bubble wall. Different thickness of the wall reflect different wavelength from the light source hence produce different colour.

Well, this is another behind the photo thought to share. No secret behind it, just a simple set up and some understanding in flash control, everyone can do it without a problem.

Oh, one thing to add. To achieve the stunning colour change, a windy room is another ingredient. Windy room will change the bubble film thickness, hence create more colour shift !

Learn how to flash with off camera flash in www.strobist.com.

Friday, September 19, 2008

The Minolta 50mm F1.4 Lens


This is my 3rd lens after I bought the A100 twin kit package. This is a great lens ! Minolta lenses are good in quality, and they were made from Japan, not China made as some of the current Sony lenses.

However, Minolta lenses are extremely difficult to find nowadays, and the prices are getting higher and higher. We are like vulture scouting for any A-mounter who wish to jump ship and grab his/her gears before it gets away! Quite sad actually because we are chasing to get these old minolta lenses in the market. If I am lucky, I get a good copy and vice versa.

Anyway, I wish to share here is the thought behind shooting this Minolta lens. A tupperware cover was used as diffuser to diffuse the light so to bring out the coating colour of the lens. What happen if no tupperware cover is used ? I got this photo:


I can't see the deflection of the coating of the lens. Same as this photo:

I got the inner aperture blades, but I lost the beautiful lens coating colour.

Be careful when holding the tupperware cover. Mind the reflection on the lens as well. See the following photo:

Instead of the reflection of the diffuse cover, my hand is captured on the lens front element as well.

This is how my set up is. Forgive me of the mess in my "studio". White cardboard is used as reflector. Although my DIY aluminium foil paper reflector reflects better than this white cardboard, but it does cast quite ugly reflection on the lens surface. This is because of the unevenness of the aluminium foil paper surface.

Learn all about strobist at www.strobist.com.

Thursday, September 18, 2008

DIY Project: Flash Grid

I introduce you, my humble DIY Flash Grid !


I was on medical leave today. Not chronic sickness, but some little fever which make me dizzy for the whole morning. I've seen the doctor, and had slept for the whole morning over the noon. After a long nap, I felt better. Instead laying on bed doing nothing, I started getting up and headed to my so call photographic-cum-workshop room to do some DIY stuff. This time, I want a Flash Grid.

What is a flash grid ? A flash modifier that restrict the flash beam to a certain area as shown in the photo above.

I have lot of corrugated sheets leftover after I've completed my DIY softbox. Why throw away if I wanted to do something with them ? Since they are corrugated sheets, they are the right material for a grid. So, for the materials, I have the corrogated sheets leftover, some cloth tapes, glue, a knife, a ruler and a pen. Hey, I need to measure and do some simple calculations.

As usual, everything start from sketch.


Then, start moulding and cutting out all the parts. The grid box was the first part to be constructed. Corrugated sheets were cut to size and stacked to the thickness of my F42 flash head.


The sheets are stick together with glue. Left it aside and let it dry.

The bracket is the next thing to do. With corrugated sheets as well, cut out the bracket parts according to the dimension of my F42 flash head.


Then everything was set in place with cloth tapes, layers of cloth tapes, and walla, my Flash Grid is completed !

Pretty simple, eh ? No need special skill, everyone can do it. Of course I've seen people constructing a flash grid by using corrugated box paper. But I prefer a more solid one, and this plastic corrugated sheets are solid and yet light and easy to work with.

The sheets are arranged in the way that the flash beam will only travel at one direction only as you can see from the above photo.

My F42 with my flash grid.

So, how does it works ? How it compare to snoot ? Here are the comparison :

This is the flash spill of a snoot. The flash spill is shape accordance to the shape of the snoot I use. In this case, my snoot is a rectangular paper box made from the box of Charlie Toothpaste. You can see the flash spill is more concentrate to a rectangular shape.

And now this is the flash spill from a flash grid:

To my surprise, it's a diamond shape ! But the spill is small and more controllable. This is good when I need to concentrate my flash beam to a certain area only so to highlight one small part of my subject. I would expect the flash spill from my grid would be a rectangular shape, but seem like I was wrong. Anyway, I'm happy with this, and now I have more control on the flash beam in my future project.

This is the comparison between a snoot and a grid flash coverage. Should I throw away my snoot ? Not of course. In fact, I wish to upgrade my snoot to a better one.

My next project, would be GoBo!