In Part 2 (link), I shown the DIY steps to built up the reflector bowl for my beauty dish.
And in this Part 3, I show you the DIY steps to construct the flash bracket.
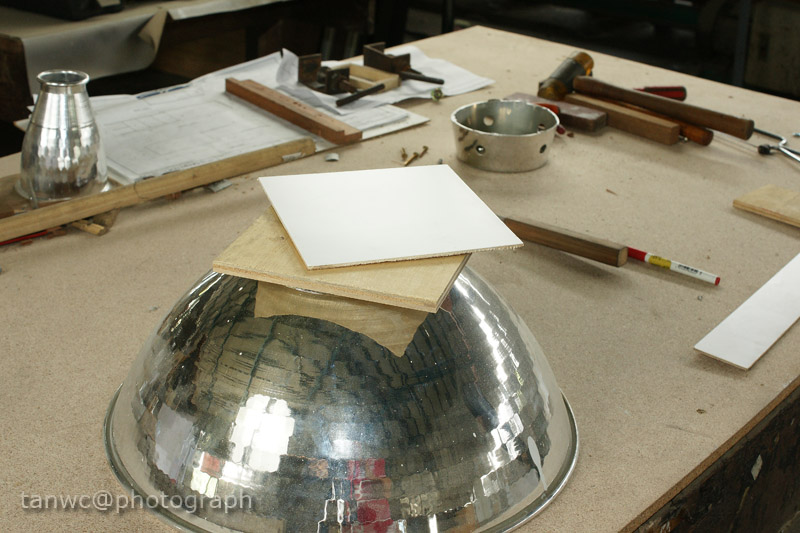
I use a 16mm wide by 3 mm thick Aluminium bar as my building material. I have all the tools require to work with aluminium. All parts will be fastened by bolts and nuts and no welding is required.
The idea of my flash bracket is simple: to hold the flash and the beauty dish in place onto a flash tripod. The bracket should be adjustable to suit different sizes of the flashes.
The bracket dimensions had been determined to suit for Sony flashes of F58am, F43am and F42am. Hence, the Aluminium bars were cut accordingly.
The bracket consists of two parts: the main supporting bar and the flash supporting bar. The main supporting bar is the bar that support the reflector bowl and the flash supporting bar. The flash supporting bar has a sliding mechanism so it could move up and down from the flash opening on the reflector bowl that suit the size of the flash it's used.
To construct the main support bar, an aluminium bar is cut.

In order to suit the gigantic size of F58am, a bar length of about 7 inches is required. The next step would be drilling two holes on one end of the bar so to fasten this bar to the reflector bowl, and the other end would be a strip of opening strip for sliding purposes.

A series of holes been drilled before turning these holes into sliding strip.

With a proper tool and effort and some muscle work, I'd turn the series of holes into a long strip.

Bend the end up to suit the curvature of the bowl. The bended end would be fastened onto the bowl with bolts and nuts as shown in the pic below:

The next one to do is the flash supporting bar. This bar would have another sliding mechanism so the flash could be adjusted according to the flash head size as well.

A bar with approximately 5 inches in length is cut.

Drill the holes and with some muscle work, make another slider strip as shown in the pic above.

Bend up the end of the bar. The bend end will be connected to the supporting bar with bolt and butterfly nut. And the flash support bar is completed.

This is how it look when everything is fixed together.

How the flash stand is fixed onto the flash supporting bar.

And how the flash bracket is fixed onto the flash stand.
The next step would be the painting. I bought a can of black spray paint to paint the exterior of the beauty dish to make it look more elegant, and the spray white paint onto the internal of the beauty dish for better reflection. And walla, I have my own DIY beauty dish!

The beauty dish with F43am.

Beauty dish with F42am.

Beauty dish with F42am.
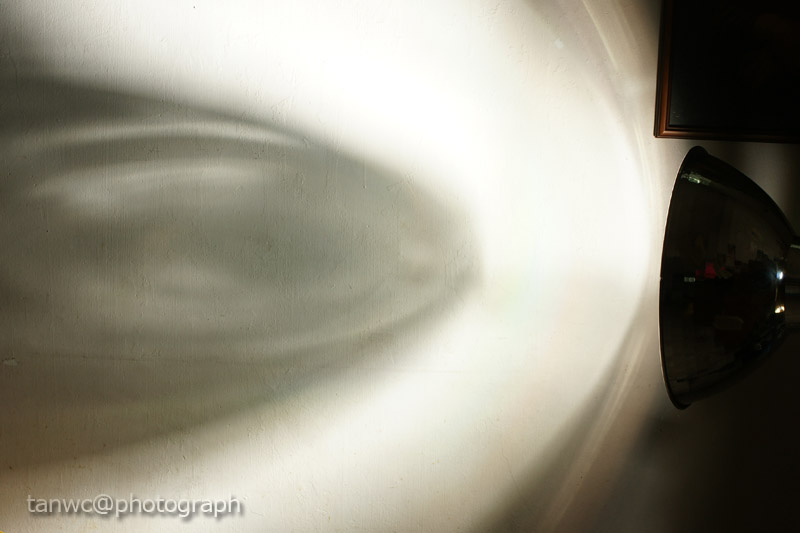
And test fire:

Yes, it doesn't throw that ugly shadow of the middle reflector!
And now I am happy. :D
My DIY beauty dish steps by steps:
:: Part 1 - The Design ::
:: Part 2 - The Bowl ::